Wednesday, November 30, 2011

Short nap

So today's nap turned out to be shorter than normal for the baby.  Since I don't have time for a real post, I'll just post some picture and quick descriptions.

Finished wreath:


Some baskets on my stairs (and Jack):


Lavender vanilla soaps:


Hopefully I'll have time to do a real update tonight that will include a pair of baby shoes that I just started this morning.  Here's a link to the tutorial.   Love these!

Tuesday, November 29, 2011

A whole week

has gone by already?  How is it that I only manage such infrequent posts?

So this should be a quick one tonight.  I'm in the midst of finishing my fabric baskets that I saw on Pinterest from here, who links here for the tutorial.  It's easy, just time consuming when you're doing four at once.  If I was just doing one it would have been super quick. 

This project has brought to my attention the fact that I need a bigger rotary cutting mat and clear quilting ruler.  My mat is 20 some odd inches tall and maybe 15 wide, which is adequate for most projects.  My ruler is 10x10.  FAR from adequate.  I used to have a bigger one, no idea where it is.  I really wish I had it for these baskets.  They start out as 15x15 squares.  I had to hunt around the house for something that was 15" to use as a template.  I found Emme's little chalkboard.  Once I got past that hurdle, it was smooth sailing....until I got to the assembly of the 3 layers. 

Is it me, or does she (the sometimes crafter) forget to mention what to do/how to put the interfacing in her basket?  Never fear, I figured it out.  Unfortunately they don't fit right.  The tutorial says to cut the outside layer to 15x15, the interfacing to 15x15 and the lining 14 7/8x14 7/8.  This was so the lining fits and there isn't any extra fabric.  The interfacing has to go inside the outside fabric too, so why is it the same size?  Wish I had asked myself that question before I started sewing.  The boxes are wonky on the inside.  They don't sit right because of the extra interfacing inside.  Also, from turning the baskets right side out and crumpling up the interfacing, it doesn't hold it's shape as well as before the turn.

I've only sewn one but will continue by those directions.  If I make more, which I probably will, I think I'll assemble them right side out and add quilt binding to the top or just fold it in and sew it for the finished edge.  I also added handles like in the first link, but I think mine are too big.  Going to attempt to shorten them for the following three baskets.  Overall, it's a great tutorial, and I never would have thought to make them without it, but I would just change a few things.  Next time I'll make them bigger, too.  15x15 is great for their original intended purpose, not so much for mine.  They are going to be my "crap" baskets for the stairs.  They're great for my crap, but not so much for Emme's toys.  I'm sure once I make the bigger ones that I can repurpose these though.  I do love them!

Here's my first finished one.

See the huge handles?


I'll be back tomorrow with updates on how my wreath turned out and some soap!

Tuesday, November 22, 2011

Busy busy

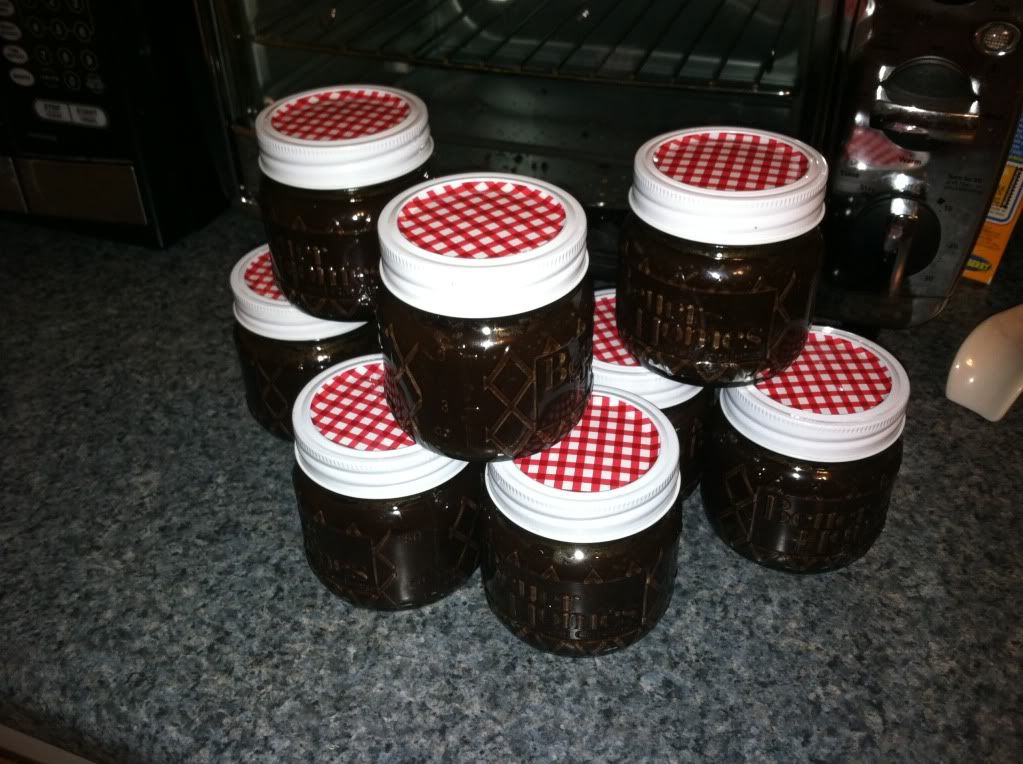
It's been a week since I've updated and a lot has gotten done.  As far as the scrub goes, I covered them with green satin that I had leftover from making Emme's Drizella costume and tied them with ribbon.  Still have to do tags.

Dave is coming along on the dollhouse.  He has 2 sides done and the first two floors' walls done.  I have "wallpapered" those walls, 6 rooms in total.  I still have the third floor to go.  Dave's list is a little bigger.  He needs to attach the two sides together, assemble third floor walls for me, stain and install the floors, cut and assemble the roof tiles and paint the frame.  Sadly, not much work got done over the weekend.  We spent Saturday cleaning since not much had gotten done after we got back from vacation.  The week we got back I got hit hard with the flu and a stomach virus and then my doctor was changing my meds, so I wasn't feeling particularly motivated.  So cleaning was an all day thing.  Then on Sunday we had to put one of our furbabies to sleep.  I'm heartbroken, as is Emme.

Teal'C (pronounced like the color with a "k" sound on the end) - 10 points for whoever can tell me where the name is from, was a 5 year old mid (not long but not a normal) hair kitty.  We found him as a kitten along with his mother, sister and brother in a terrible snowstorm in Oct 2006.  We managed to capture them and bring them home with us to foster.  The mother was very friendly but the kittens were feral.  The female was quick to warm up to us and was adopted out to my husband's best friend's fiancee (and now lives with her parents).  The boys took us 3-4 months to socialize and even then, it was only with us.  I was afraid that if we broke that trust and took them to the shelter to be adioted that they'd revert and be put to sleep.  So our brood grew from two orange tigers to four.  He was a sweet, but still shy kitty.  He loved to snuggle with me as long as Dave wasn't around, he was still pretty terrified of him.  When he was being pet he would bury his head between his paws and nuzzle the bed/couch/floor.  So cute.  He also loved all 3 of his brothers, especially my old man kitty, Sir Robin.  Most days they could be found snuggling together, arms wrapped around the other one.  He had excellent hearing.  He could hear other kitties being played with, toys, treats and cat nip being taken out from 3 floors away.  He was a special boy. 

We woke up Sunday morning to hear a kitty howling from downstairs.  I assumed they were just fighting.  Dave found Teal'c lying under the basement stairs with his legs spread out and meowing.  He was not a talker so we knew instantly something was wrong.  I called the vet and we brought him in.  He had had a stroke.  There was a blood clot blocking blood flow to his rear legs and he was paralyzed in the back.  His breathing was labored, sounding to her like fluid in his lungs.  He also had heart failure.  She said there was no successful treatment for cats.  So we made the sad decision to have him put to sleep.  When she asked if we wanted to be with him I was surprised.  I can't imagine anyone leaving their dear pet alone at that point.  We stayed talking to him and petting him.  I'm glad he's out of pain, but still miss him terribly.  It hasn't really sunk in completely.  I'm still waiting for him to run downstairs when I fill their water or to cuddle with Rob.  I think his age and how quickly it all happened have a lot to do with the shock.  We found him at 9 and were home by 10:20am. 

Despite the terrible ordeal it was, I'm grateful to Dr. Gwen for her loving care of him and her understanding.  I'm also so thankful to my friend and neighbor who was able and more than willing to take Emme while we went to the vet.  I'm so grateful for the wonderful neighbors we have because there were four different people I know I could have called and left her with.

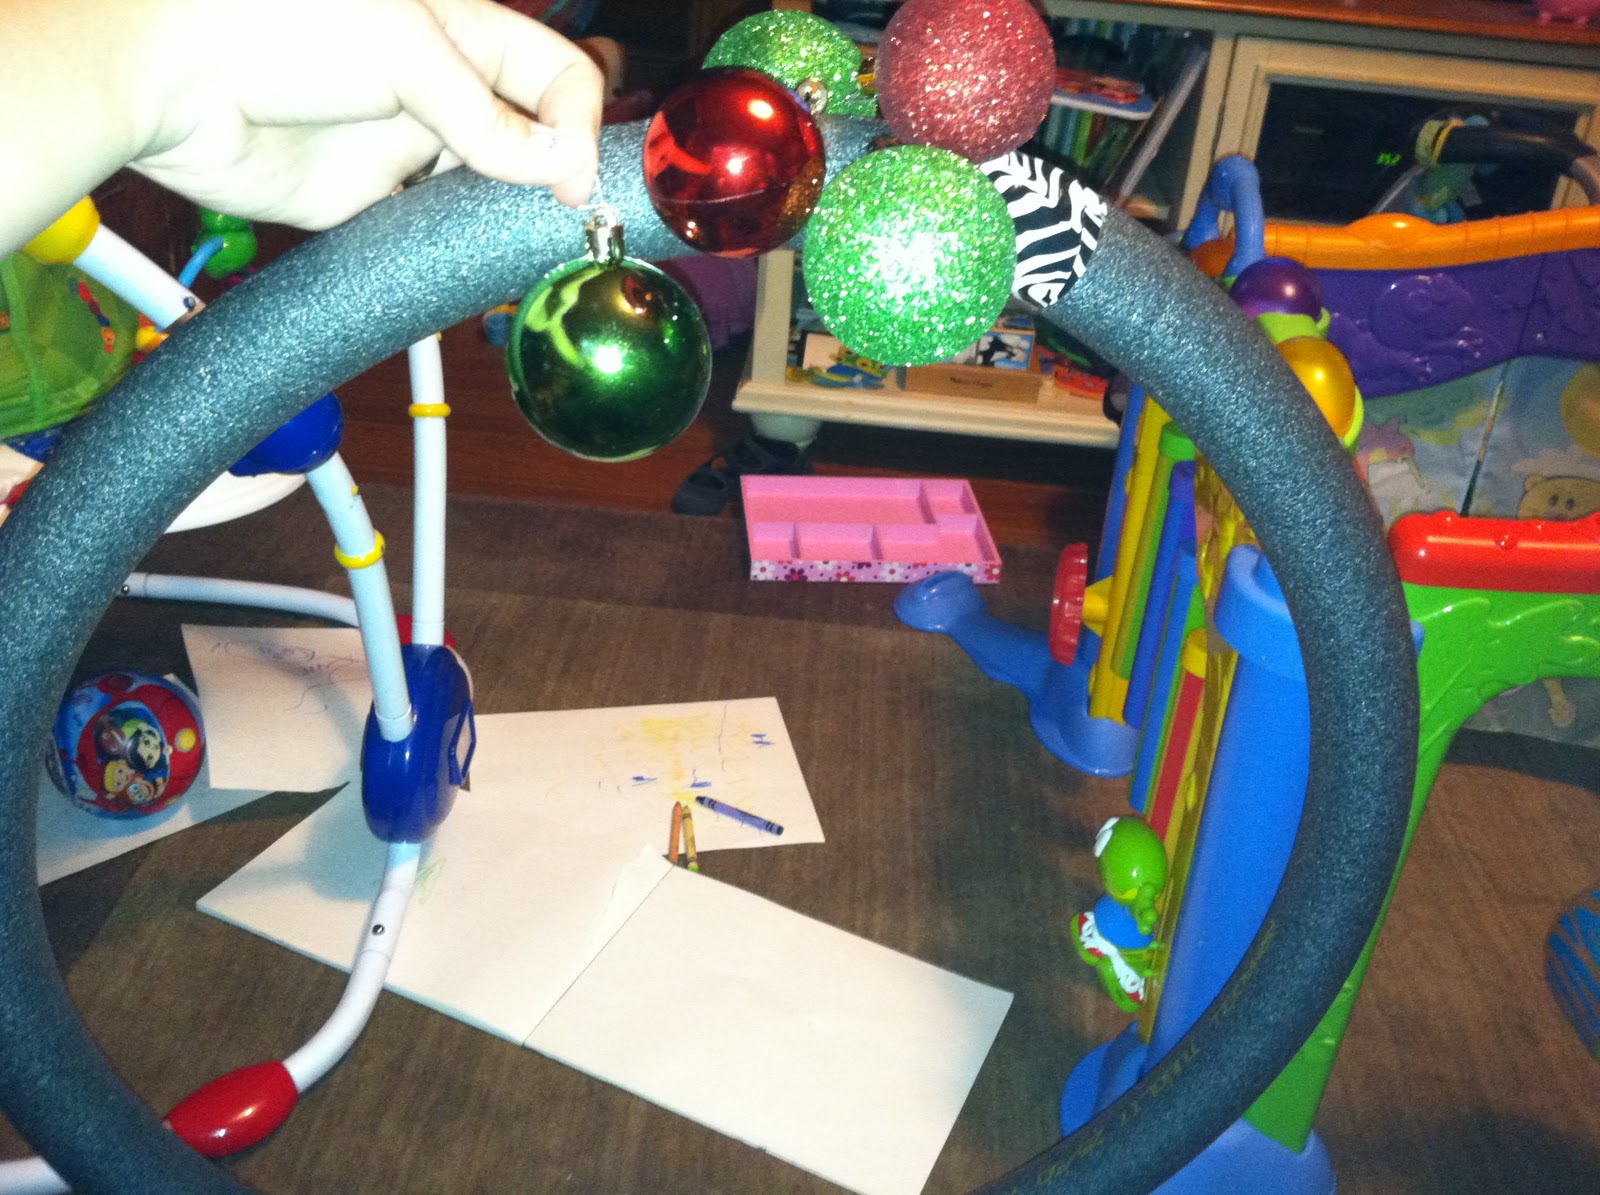
So, that was a long detour.  At any rate, not much got done on the house this weekend.  I did start a Christmas bulb (bulb or ball?) wreath for over the fireplace.  So easy but time consuming.

I used foam pipe insulation from Home Depot, $1.18, for the wreath base and duct taped it together with the only tape I had on hand.  Zebra!  It was a free sample I got about 6 months ago.  I started trying to do it with the metal ornament hangers.  Like this.

sticking them into the tubing.  Like this:


That didn't work so well.  They kept sliding out.  So I finally sucked it up and went to buy a glue gun.  Wow, that's much better!

I started by attempting to evenly space green bulbs around the outside, then did red around the inside.
                                         

Then I started filling it in.


 And that is where I stand.  That was about 15-20 that we had and 2 30 packs from Walmart.  I used the entire 6 ft of tubing.  We have a large, blank, white wall above our fireplace so I needed this to be big.  So far I've invested about $11 in this project.  I think it looks great so far.

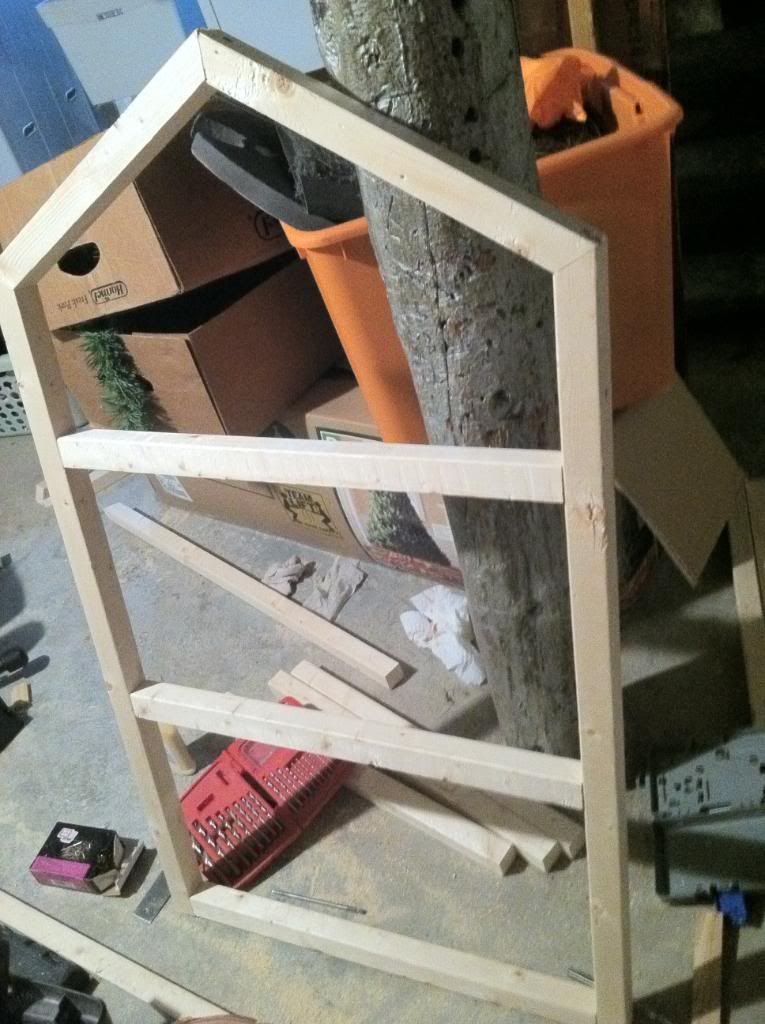
Here is a photo of one of the sides of the dollhouse.  It is going to be huge.  I'm so excited!

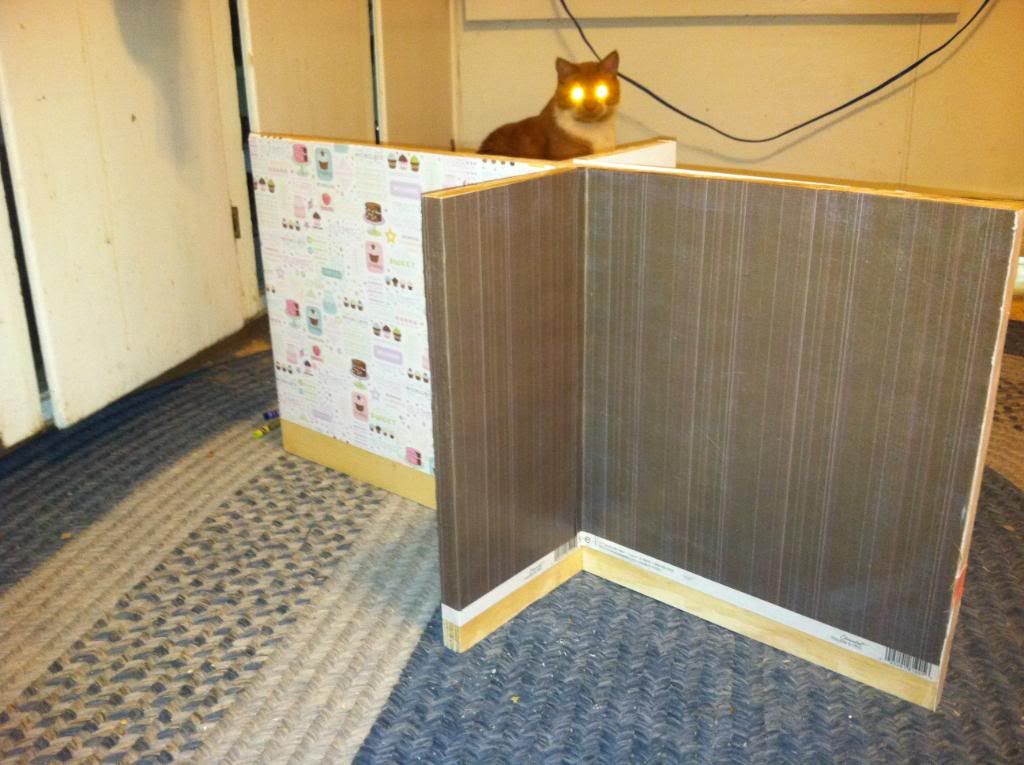
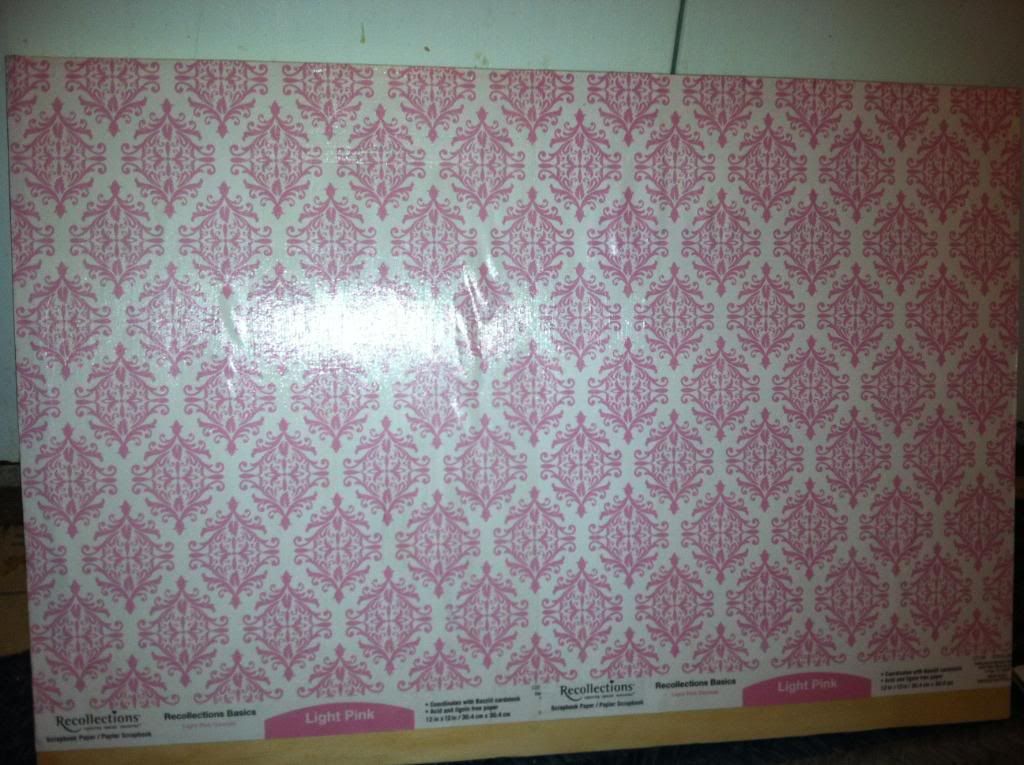
Entry way in brown and pink metalic stripe paper.  Kitchen behind it in cake/cupcake paper.  Demon kitty (Sir Lancelot) behind that.

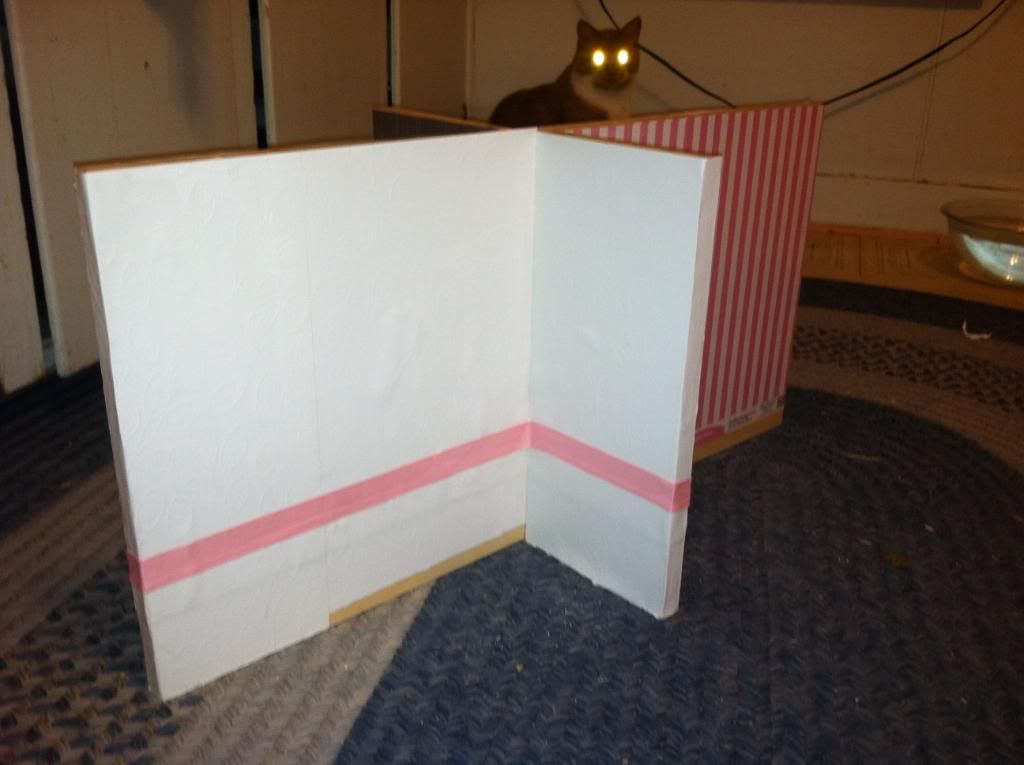
Dining room in white with pink ribbon chair rail.  I have since removed the bubbles that are visible here.  Living room behind that in pink stripes.

Second floor bedrooms.  Again, bubbles are gone now.


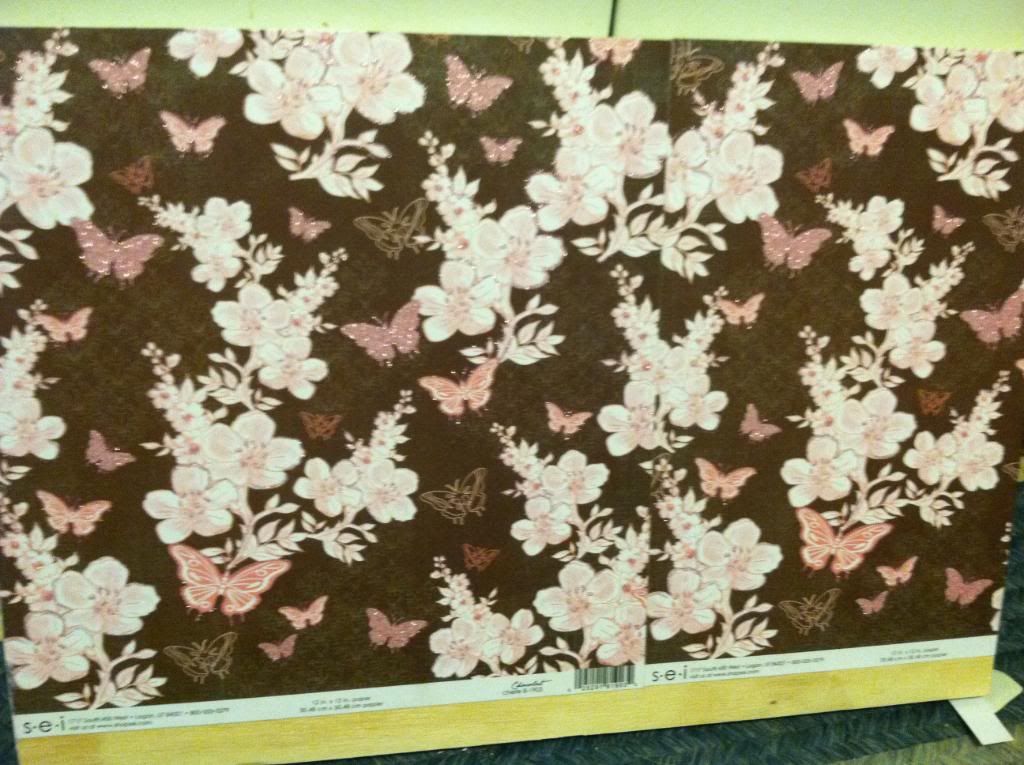
cI love this sparkly butterfly paper.  There was no matching it up though.  It wasn't continued on the next piece like a roll of wrapping paper, it was just one print, like a stamp.  So it doesn't line up, but I loved it too much to not use it.

My other project that I haven't done pictures of yet are coasters.  I made some for us to see if I liked them before doing them for others.  Hopefully I have tutorials up in the next couple of days.  Well, that's it for me.  Another 5 points if you made it all the way through this super long post today!

Tuesday, November 15, 2011


Sweet cocoa

So I went to the store tonight and bought supplies for my first project, sugar scrub.  I wasn't quite sure if I would attempt lemon or vanilla scrub until I got home and realized I forgot to buy lemons.  Vanilla brown sugar it is!  I followed this recipe with a slight change.

Instead of 2 cups of brown sugar and 1 cup of white, I flip flopped it.  Brown sugar was more expensive and with a big list of stuff to make and a penny conscious husband, I decided to try it out.  I also followed the advice of several recipes I had read that said my love, olive oil, had a stronger smell and it might be wise to use an oil with a softer smell.  The above recipe called for sunflower oil.  Good thing because other than olive, vegetable and canola, was the only oil I had seen mentioned in recipes that my super Walmart actually sold.  Perhaps my grocery store would have other options?

After about an hour of putzing around playing majohng on lifetime games, I got to work.  Followed the recipe with the above mentioned switch.  It.smelled.horrible.  I tried adding more vanilla.  Just smelled like alcohol and grossness.  I sniffed the sunflower oil bottle.  Yep, that's the culprit.  Recalling some other advice from another recipe that said to use pretty much anything in your cupboard that you would eat, I grabbed some lavender green tea.  The bag smelled heavenly.  I added a tablespoon to the mix.  Made no difference.  Added a second.  Same results.

I grabbed another small bowl and tried all white sugar with the oil and just the tea.  No dice.  The sunflower oil was overwhelming.  I headed back to the cupboard and grabbed my bottle of olive oil and gave it a sniff.  It was stronger than the sunflower oil.  After resisting the urge to grab a piece of bread and some balsamic vinegar, I put the cap back on and headed back to my sugar mess.  I was giving up going to do more research for the night.  I was hoping that if I did some more internet stalking, I could find a way to doctor my current batch and save it.  So I loaded it into 2 large mason jars that I had in my cupboard and resigned myself to the fact that this venture might be a failure.  I couldn't figure out how this smelled so horribly and all these people online were raving about it.  I found the smell so offensive that it made me nauseous.   And they really suggested giving it as gifts?  Yuk.  I would be embarrassed to give this away.  Honestly, if someone smelled it before they took it home, I don't think I could give it as a gift.

Despite my feeling of defeat, I took one last peek in my cupboards as I was putting the sugar away and my eyes fell on my cocoa powder.  Hmmmm.  Put anything in that you would eat.  I also remember reading a ton over the last few years about the antioxidants and other wonderful benefits of chocolate.  It was worth a try.  I took the sugar back out and poured it into the smallest Corningwear bowl I had.  Added some cocoa and more sunflower oil.  The smell wasn't entirely offensive.  I added a little vanilla.  Yep, alcohol and oil again.  Although this time, the cocoa seemed to dull the sunflower smell.  Mixed it more and added a bit more cocoa.  I was on the fence about it so decided to try it.  I was a little worried about the cocoa on my hands and needing soap to get it off thereby negating the positive and moisturizing effects of the oil.  Well, the water washed it away without a problem and I had a nice cocoa aroma at my sink.

Now I wanted to see if I was crazy and if anyone had attempted this before.  As I was typing away, I stopped and gave my hand a sniff.  Mmmm, cocoa.  It wasn't overpowering, but it was lovely.  Perhaps using this will help my chocolate cravings without having to eat chocolate?  Wishful thinking probably.  At any rate, I had read some good skin benefits from cocoa, but no scrubs with it.  There are a few face masks and commercially prepared skin products that do contain cocoa though.  Maybe I invented the first cocoa sugar scrub?

It's been about an hour since I first used it and my hands feel great.  They're not greasy, just smooth and the sugar made them feel rejuvenated.  Not to mention the slight cocoa smell that's lingering.  I'm in love...and I think I'm a bit of a genius.  Here's the recipe.

2 cups white sugar
1 1/3 cup cocoa
3/4 cup sunflower oil
This makes enough for 3 half pint jars.

My personal preference would be to have a bit more oil but I was afraid of killing the smell of the batch.  Overall, I'm super happy with how it turned out.  The only negative of the night?  Getting chocolate on my only nice white nursing tank.  Let's hope some oxyclean will do the trick.  I'm off to make a few more batches and cross one project off my Christmas list!

Mixing the second batch.  I forgot to mix the sugar and cocoa before I added the oil this time.  It didn't have any ill effect


The scrub in jars.  Yes I'm a dork and drew a little heart with a knife in the top.


You can see the larger jars with the initial scrub in them.  Looks kinda gross, huh?  It was.  I was reminded when I emptied and cleaned out the jars.  My stomach hated me when I emptied them out.


The almost finished product.  I just need to get labels and tie some ribbon around the jars.  That's my next project.  I love that my hands still smell like cocoa.


Just wish the jars tops weren't so ugly.  I guess I have to embrace the picnic blanket gingham unless any of my 3 readers have any ideas on how to cover it.  Fabric completely over the top of the jars tied with a ribbon?  Modge Podge something?

So many projects

I always seem to have at least 5 projects floating around in my head, usually more.  Right now here's what's competing for priority.

1. Christmas presents - I always think homemade things mean more buy gosh do I throw a lot on my plate.
  -dollhouse  from Ana White.  Emme is 3, so a "real" house with doors and windows and 3 walls per room seems too difficult for her dexterity wise.  This little house is perfect.  A huge plus is that I get to decorate with fun girly colors and designs I can't use in my own house :)

  - rugs, bedding, bed, sofa for the doll house.

  -kitchen also from Ana White.  The hubs is in charge of building both this and the dollhouse, I'm in charge of finishing.  I might be taking on more of this project though because he always has so much on his plate with work.

  - to go along with the kitchen is felt food that I'm making myself.  I was so excited when I found tutorials here that I went out and bought a ton of felt and started on slices of bread.  I've lost my motivation.  I feel like it takes too long.  I miss sewing on my machine, not a huge fan of hand sewing.

The following are all going to be put together as gift basket type gifts for family and friends.

  - felt slippers from my Martha Stewart magazine.  These should be wonderful for the grandmas that never give us a list and are always cold!  Hopefully not too time consuming.

  - sugar scrub

  - monogrammed coasters for friends and family.

  - Double oven mitt.  Probably a couple for us too!

  - Beautiful frames, not sure if I'll do Christmas theme or not, but I think yes.  I just love the glitter!  Then I don't have to worry about it matching their decor.

  - custom trivets.  Maybe monogrammed or in each of the family's initials?

  - soaps.  This is the cheater's method.  I looked into actually making my own, but the burns you can get from working with lye sound scary.  Perhaps when I have older kids that I can send out of the house for a period of time I'll attempt it.  But for now, this will give me an introduction to the soap making world.

  - dish towels.  For this I will have to be a little sneaky and attempt to figure out the kitchen decor of said family and friends.  Or just find some nice neutral fabric.

  - chalk labeled wine glasses.  Love this!  Wine charms are not always everyone's taste.  For instance, I love bling, my mother?  Not so much.

  - pie.  Pie in a jar.  What's not to love?

  - pretty personalized canvas tote to hold it all.

 Too much?  I always seem to over-do everything; never thinking I have enough.  Does it seem balanced enough for a couple.  Too girly or wife centered?

2. Cleaning.  The house is never clean enough.  At least most toys have been moved to Emme's room.

3. Kitchen.  Gross, ugly, outdated.  Just a few words to describe our kitchen.  There's a kitchen store in town that's selling their displays.  Trying to get Dave over there with me to check them out soon.  Hopefully in a few minutes!

4. Decorating for Christmas.  We're half done, but still have boxes all over the house.

5. Sending a wedding card to my dear friend Trisha and her new husband Rusty.  I was a bridesmaid in her wedding last Thursday.  We got home from Disney World at 10pm Monday night.  I had intended to start baking for the shower I was throwing for her Wed night.  Was feeling a little under the weather, figured sleep would help.  It didn't.  I woke up vomiting and didn't stop for quite awhile.  Then I had flu symptoms.  I had to miss the wedding.  I'm still so sad to have missed their day!  Heartbroken actually.  I love you, Trish!

So the kids are up, I'm off to get the 3 yr old dressed for ballet and try to get to the kitchen store before we go.

Nap Time Blogger

Welcome everyone (all 2 of  you I'm sure).  I used to be a nap time crafter/seamstress/quilter.  Then I was blessed with the birth of my second daughter, Alice, in April of this year.  Much like her big sister Emmeline at this age, she will only nap with me.  She will nap on her own if I set her down, but usually only for about 30 minutes, max.  That kind of nap results in a crabby baby, which results in a crabby mommy.  This is my last baby, so I'm trying to enjoy the cuddle time as much as possible and not wish away this time for my freedom.  I know all too well how quickly this time goes.  I miss cuddle time with Emme immensely. 

So rather than just sit on the couch and watch investigation discovery all afternoon, I thought blogging might be somewhat more productive and at least allow me to share my projects and maybe get a little of my craft fix.  I would like to apologize in advance for any typos.  I do try to double check, but some might slip through.  In my pre-kids days, I was a super fast and awesomely accurate typer at my corporate job.  I now type one handed while holding a baby in my other.  Kinda hard to be so awesome with only one hand to type.

I'm all over the board in my diy hobbies.  I've quilted, which is what got me hooked, sewn curtains, clothes, crafted and dabbled in woodworking thanks to Ana White at Knockoff Wood.   I also help the hubs (or at least did before kids) with home projects, demo, finishing drywall, painting and I am in charge of decorating.  I love projects.  I constantly have multiple ones going on simultaneously as does my husband.  My cousin recently showed me pinterest.  Oh boy, just what a diy junkie needs, more inspiration and instructions!  So this blog shall chronicle my journey through my midnight diy-ing projects.